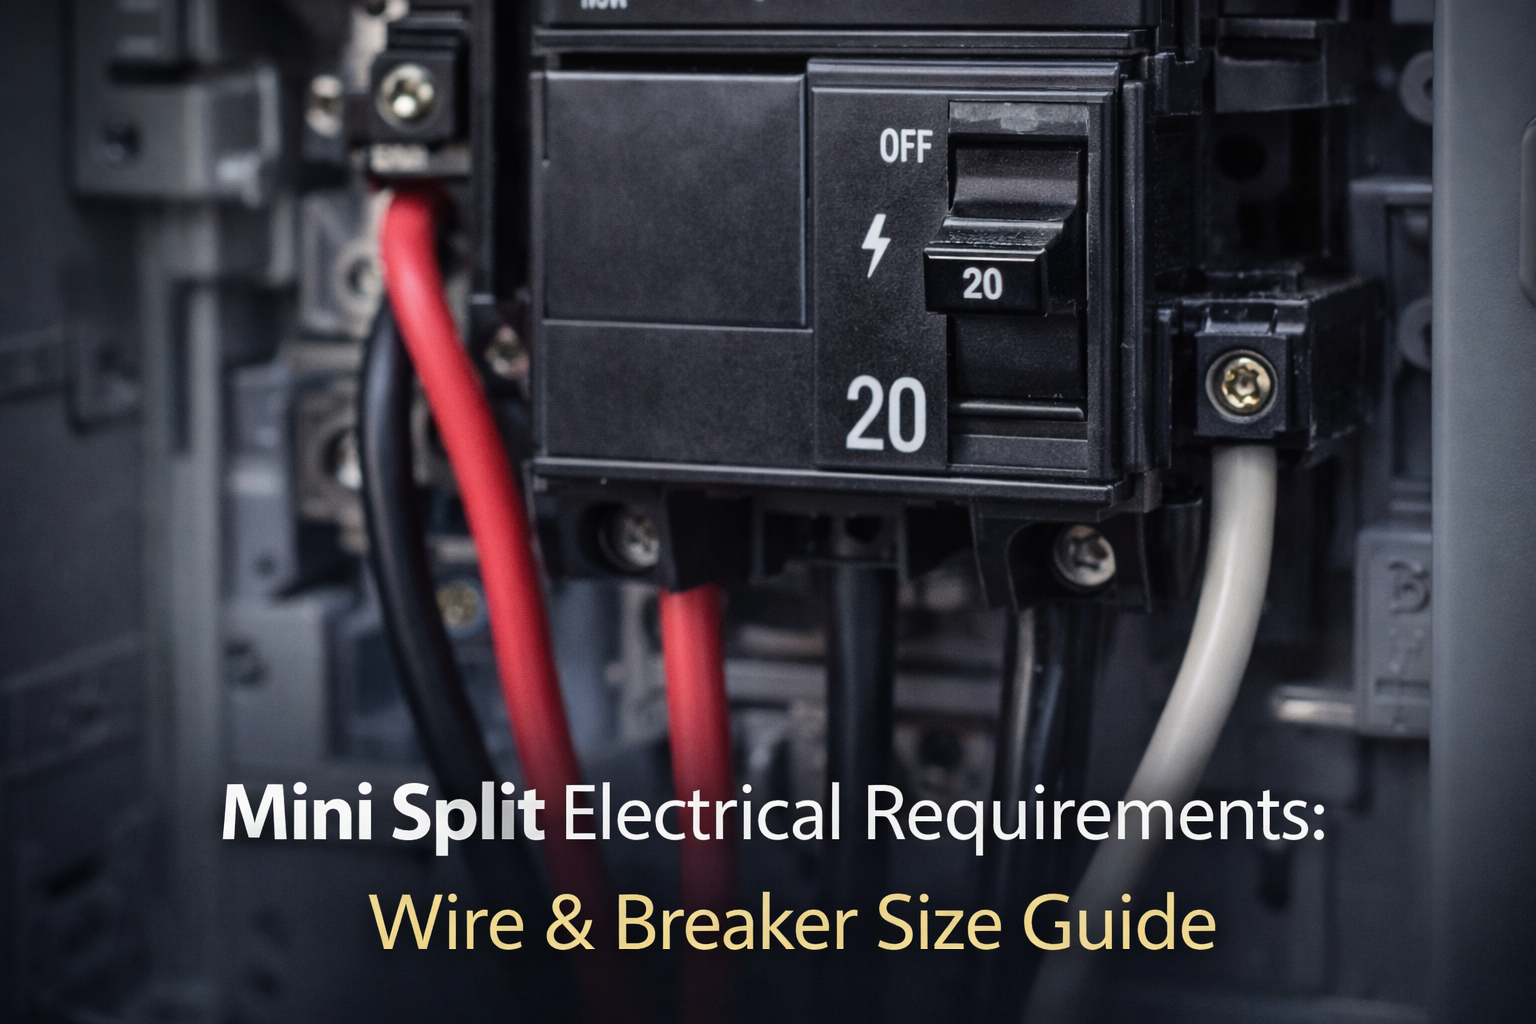
Mini Split Electrical Requirements: 110V vs 220V & Breaker Sizing Guide (2026)
You have picked out the perfect mini split. You know where to mount it. But then you look at the spec sheet and see terms like “MCA,” “MOP,” and “12 AWG.”
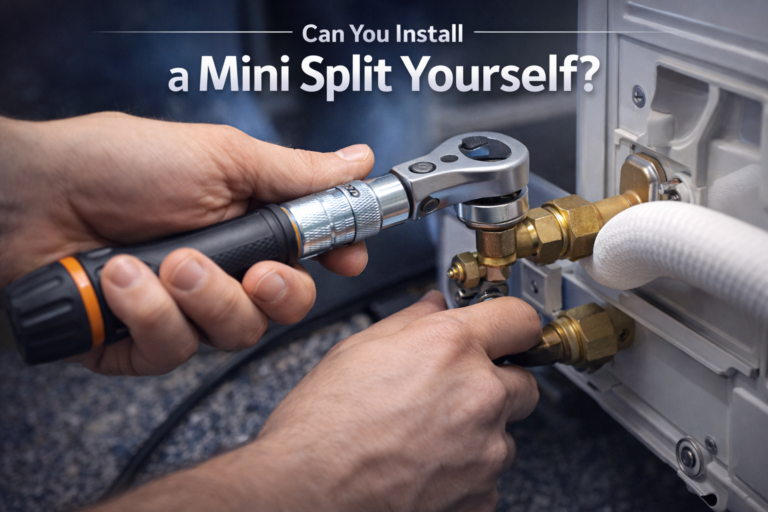
Warning: Electrical work is the most dangerous part of a mini split installation. Unlike connecting the copper pipes, getting the wiring wrong can damage your unit or, worse, start a fire.
Most DIY mini splits (like MrCool) are NOT “Plug-and-Play.” You cannot just plug them into a standard wall outlet.
In this guide, I will simplify the electrical jargon and tell you exactly what wire and breaker you need.
⚠️ Disclaimer: I am an HVAC enthusiast, not a licensed electrician. Local codes vary. If you are uncomfortable working with high voltage, hire a sparky for the final hookup.
The Big Decision: 110V vs. 220V ⚡
Mini splits come in two voltage flavors. You must choose this before you buy.
1. The 110V / 120V Systems (Plug & Play… Almost)
- Capacity: Usually limited to 9,000 or 12,000 BTU.
- Best For: Small rooms, bedrooms, or older homes where adding a new 220V circuit is too expensive.
- The Myth: “I can plug it into my bedroom outlet.”
- The Reality: NO. Even 110V units typically need a dedicated circuit. Sharing the circuit with your TV and lights will trip the breaker constantly.
2. The 220V / 240V Systems (The Standard)
- Capacity: 18,000 BTU, 24,000 BTU, and all Multi-Zone systems.
- Best For: Whole home cooling and maximum efficiency.
- Requirement: You definitely need two hot wires (double-pole breaker) in your electrical panel.
Wire Gauge & Breaker Size Cheat Sheet 📏
Always check your specific manual, but here are the industry standards for most DIY units:
| Unit Size (BTU) | Voltage | Recommended Breaker | Wire Size (AWG) |
| 9k – 12k | 110V | 20 Amp (Single Pole) | 12/2 WG |
| 9k – 12k | 220V | 15 or 20 Amp (Double Pole) | 12/2 WG |
| 18k – 24k | 220V | 25 or 30 Amp (Double Pole) | 10/2 WG |
| 36k (Multi) | 220V | 40 Amp (Double Pole) | 8/2 WG |
- WG: With Ground (Green wire).
- Note: Always use “Stranded” wire for the whip (outdoor connection) and “Solid” wire (Romex) for inside the walls.
The “Disconnect Box”: Do Not Skip This 🛑
Code requires a Disconnect Box (a small grey switch box) mounted outside, within sight of the outdoor unit.
- Why? So a technician can safely cut power to the unit while working on it without running inside to the main panel.
- Cost: It’s cheap (~$15). Don’t skip it.
👉 Before trusting quotes Read The Ultimate Mini Split Guide (2026)
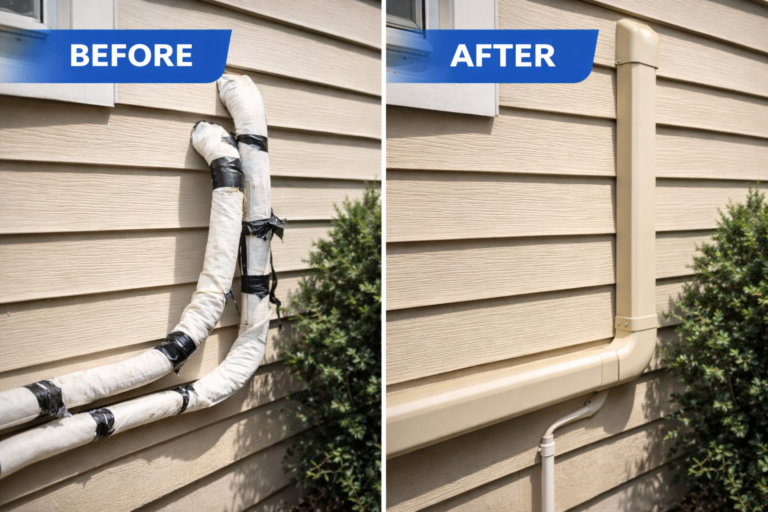
The “Communication Wire” (The Confusion Source)
You will see a thick cable connecting the Indoor Unit to the Outdoor Unit.
- Do you need to buy this? usually NO.
- DIY Units (MrCool): This cable comes pre-attached or included in the box.
- Pro Units (Pioneer/Mitsubishi): You often have to buy “14/4 Stranded Shielded Cable” separately. Check the box contents!
Conclusion: Safety First
If you are unsure about sizing your breaker, call an electrician. It is better to pay $200 for a hookup than to fry a $1,500 compressor.
Planning your build?
Make sure you didn’t overshoot the size. An oversized unit on a small breaker is a recipe for disaster.