Ceiling Cassette Mini Splits: The “Invisible” AC Upgrade (Are They DIY Friendly?)
You want the comfort of a mini split, but you hate the look of the wall-mounted units. You don’t want a “white plastic box” hanging above your sofa or interfering with your gallery wall.
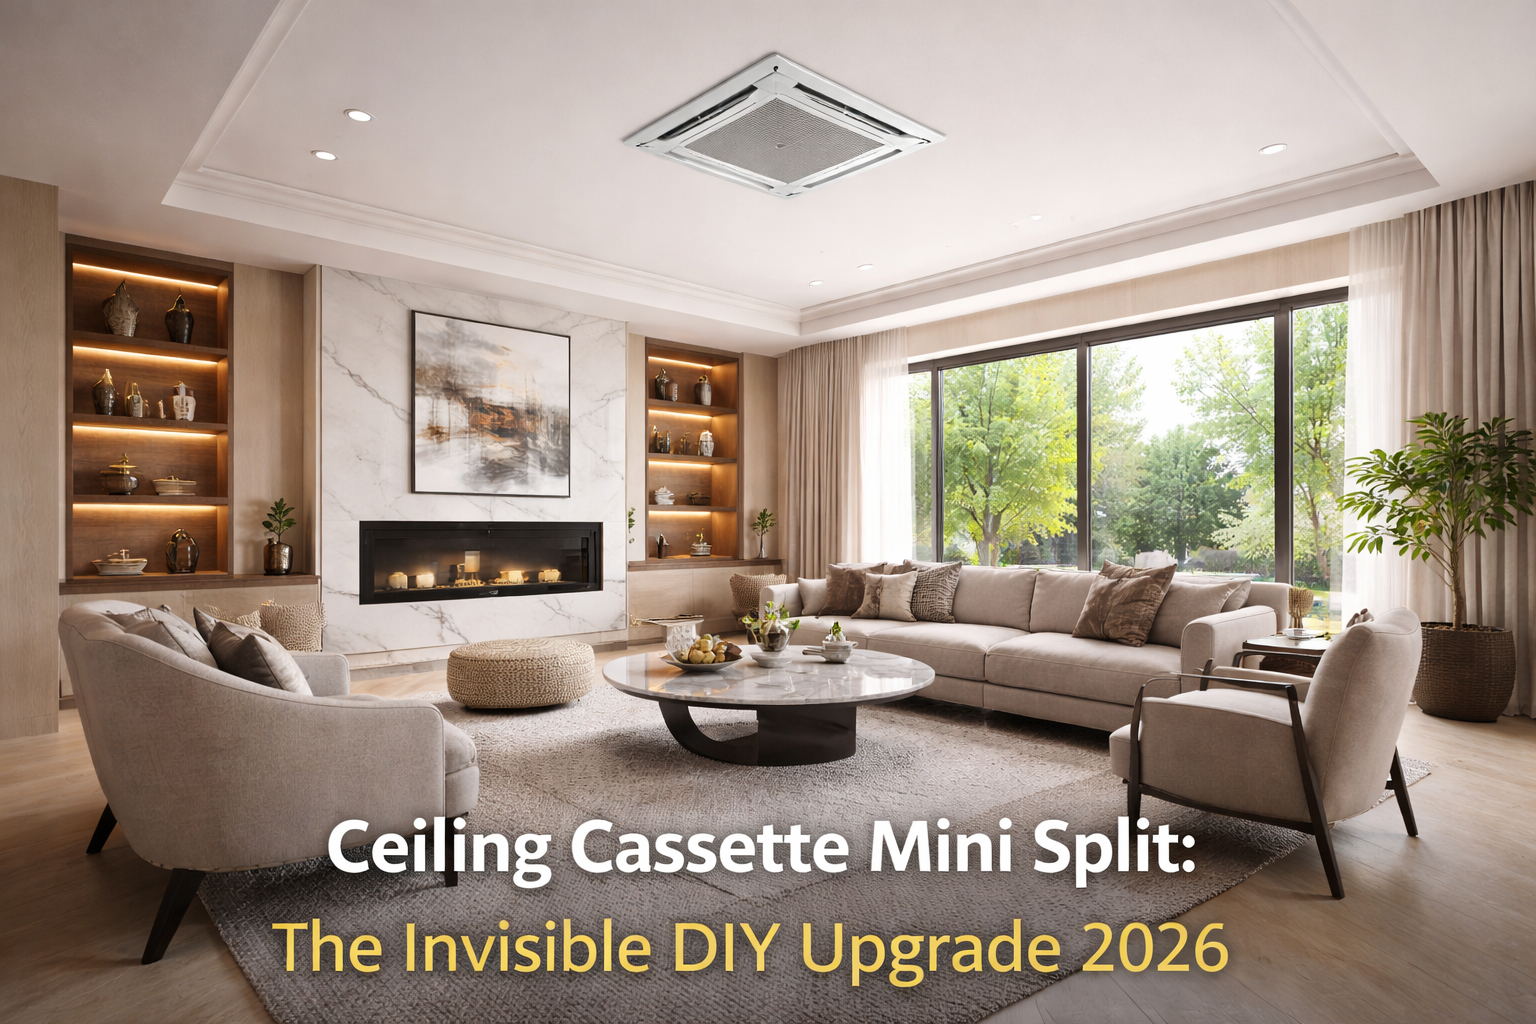
Enter the Ceiling Cassette. It sits flush with your ceiling, disappears into the room design, and distributes air in 4 directions. It is the ultimate “Luxury Upgrade.”
But for a long time, installing one was a nightmare that required cutting massive holes in your structural beams. Good news: In 2026, new DIY-friendly cassettes have changed the game. Here is what you need to know.
What is a Ceiling Cassette? ☁️
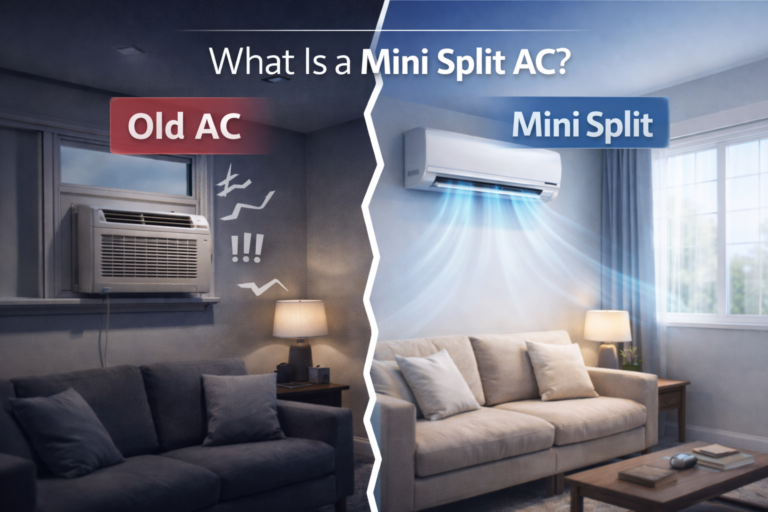
Unlike a standard “Wall Wart” that hangs on the wall, a Cassette is recessed into the ceiling. Only the flat grille is visible.
- Airflow: It blows air in 4 directions (360 degrees), unlike wall units that only blow forward. This eliminates hot spots in large rooms.
- Drainage: It comes with a Built-in Condensate Pump to lift water out (you don’t need to buy one separately).
The “Joist Problem” (And The Solution) 🔨
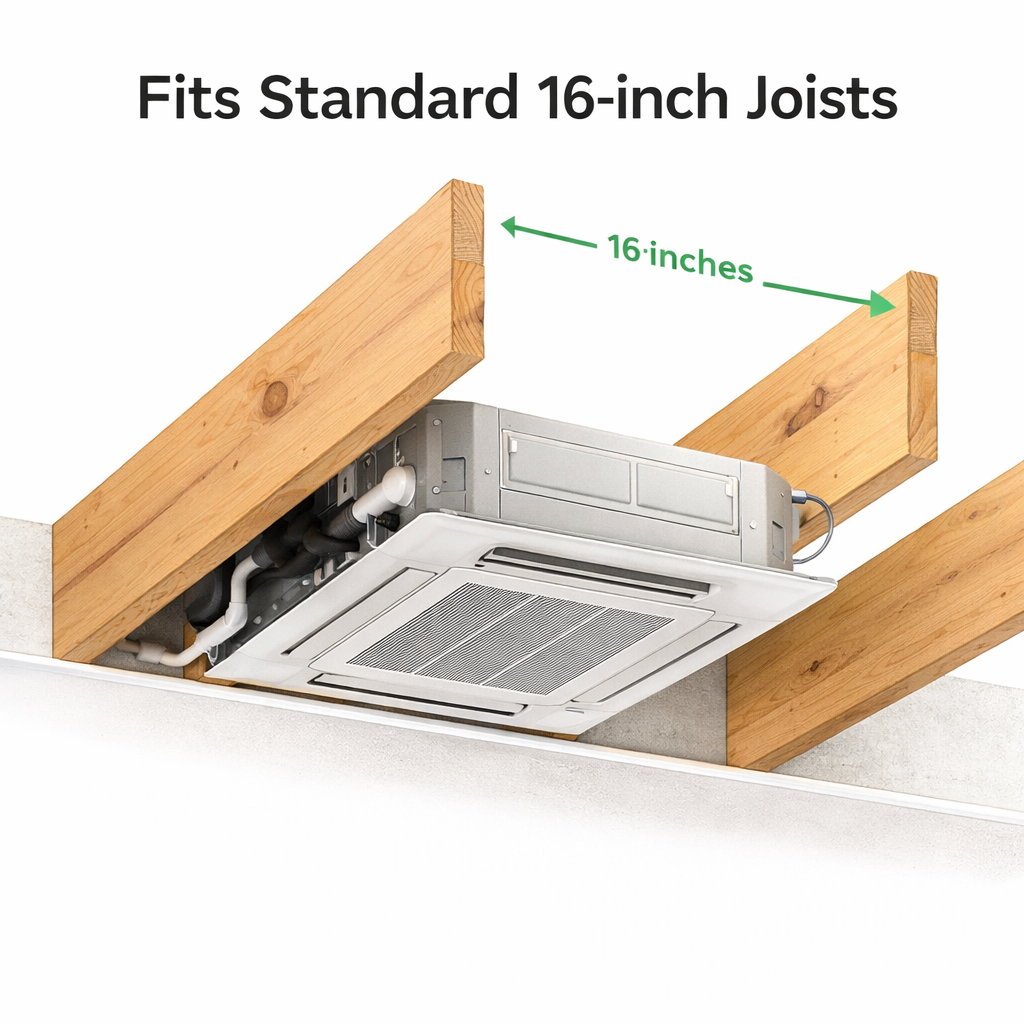
Historically, cassettes were wide (24 inches). But standard American ceiling joists (the wooden beams holding your roof) are spaced 16 inches apart. To install a cassette, you had to cut a joist—which is dangerous and requires a carpenter.
The Game Changer: MrCool DIY Cassette
MrCool released a special cassette designed specifically to fit BETWEEN standard 16″ joists.
- No cutting beams.
- No structural work.
- True DIY. You simply cut the drywall, slide the unit up between the beams, and secure it.
Pros & Cons: Is It Worth The Extra Effort? ⚖️
✅ The Pros
- Aesthetics: It is virtually invisible.
- Better Airflow: The 4-way blow covers the entire room evenly. Perfect for open-concept living rooms.
- Wall Space: You save your wall space for art, TVs, or windows.
❌ The Cons
- Attic Access Required: You usually need access to the space above the ceiling (attic or crawlspace) to run the lines and wires. If you have a second floor above you, this is very difficult.
- Price: Cassettes are typically $300 – $500 more expensive than wall units.
- Installation Difficulty: Working overhead on a ladder is harder than working on a wall.
👉 If you’re planning a mini split system from scratch, begin here 👉
Sizing a Cassette 📏
Sizing rules are the same. A 12k BTU cassette has the same power as a 12k wall unit. However, because cassettes are often placed in the center of the room, they are slightly more efficient at mixing the air.
Placement Tip: Always center the unit in the room. Do not put it in a corner, or you will block 2 of the 4 airflow vents.
Conclusion: The “Hidden” Gem
If you have an attic and you care about design, the Ceiling Cassette is the best choice you can make. It adds value to your home and looks professionally built.
Just remember:
- Check your joist spacing (is it 16″ on center?).
- Make sure you have attic access.
- Size it correctly.