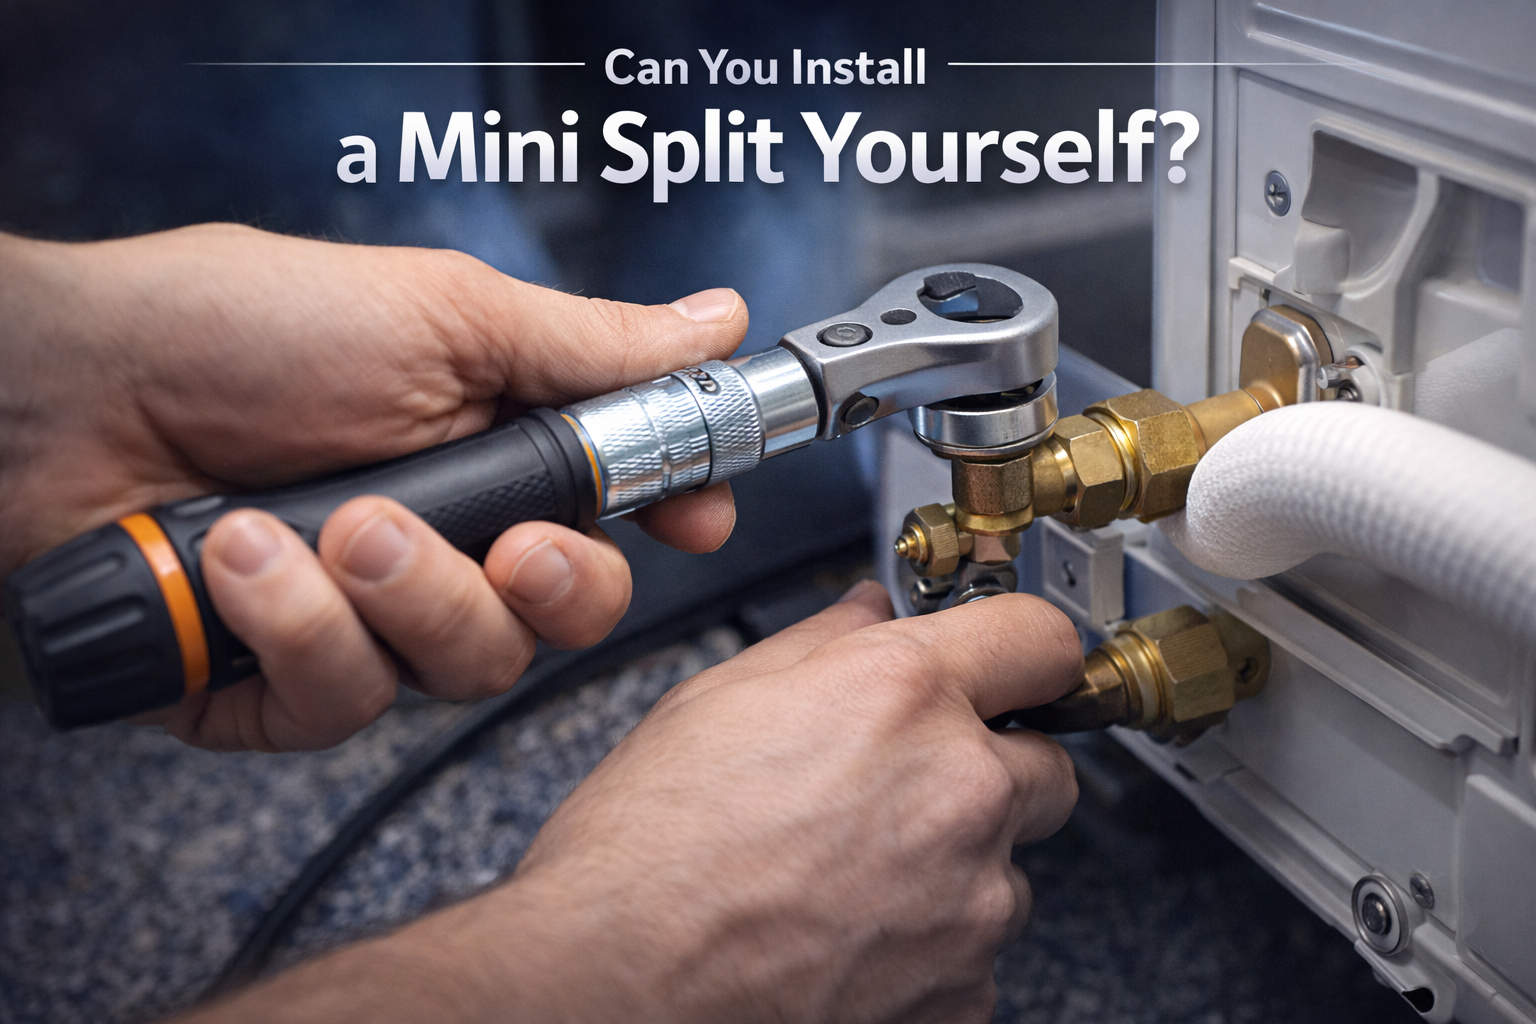
Can You Install Mini Split Yourself? The Engineer’s Honest Reality Check (2026)
Let’s talk numbers. A professional HVAC installation for a single-zone mini split typically costs between $1,500 and $3,000 just for labor. The unit itself might only cost $800.
It is no wonder that thousands of homeowners are asking: “Can I just do this myself?“
The short answer is Yes. The honest, engineering answer is Yes, BUT only if you respect the physics.
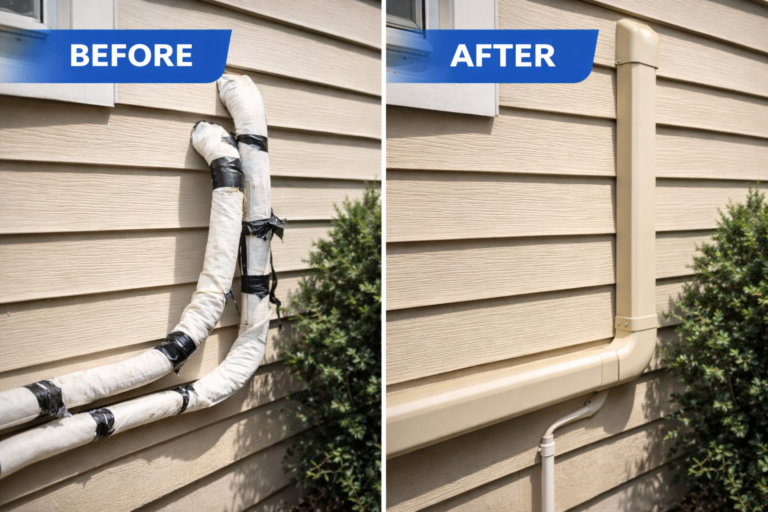
Installing a mini split isn’t just “hanging a TV on the wall.” You are dealing with high-voltage electricity, pressurized refrigerant, and condensate drainage. One mistake doesn’t just break the unit; it can rot your walls with hidden water leaks or void your warranty instantly.
In this guide, I will break down the DIY installation process step-by-step, explaining the “Critical Fail Points” that most YouTubers skip, so you can decide if you are ready to handle the job.
⚠️ First Step: Before you pick up a drill, you must buy the right size. An undersized DIY unit is a waste of time. Use our Free Mini Split Calculator to confirm your BTU requirements first.
The Great Divide: DIY vs. Traditional Units
Before you start, you must understand that there are two types of mini splits. This distinction changes the difficulty level from “Hard” to “Moderate.”
1. Traditional Systems (Pioneer, Mitsubishi, Senville)
- Difficulty: High (Requires HVAC Tools).
- The Hurdle: The copper lines come empty. You must connect them, then use a Vacuum Pump and Manifold Gauges to suck all the air and moisture out of the lines (down to 500 microns) before releasing the refrigerant.
- Verdict: If you don’t own a vacuum pump or know how to flare copper tubing, do not attempt this unless you are willing to learn a new trade.
2. The “True DIY” Systems (MrCool DIY)
- Difficulty: Moderate.
- The Difference: These come with Pre-Charged Line Sets. The refrigerant is already sealed inside the tubes. You simply click them together using a special “Quick Connect” fitting. No vacuum pump needed.
- Verdict: This is what 95% of DIYers should choose.
Still researching mini splits?
👉 This Mini Split guide explains what really matters
The “Am I Ready?” Checklist
You don’t need an engineering degree, but you do need “Handyman Competence.” Can you say YES to these 4 questions?
- Can you drill a 3-inch hole through an exterior wall? (You may hit studs or siding).
- Are you comfortable with basic electrical wiring? (You will need to install a disconnect box outside).
- Do you own a Torque Wrench? (Crucial for tightening nuts without cracking them).
- Can you lift 30-40 lbs above your head? (Mounting the indoor unit).
The 4 Critical Steps (And Where People Fail)
Here is the engineering breakdown of the installation process, focusing on the mistakes that destroy systems.
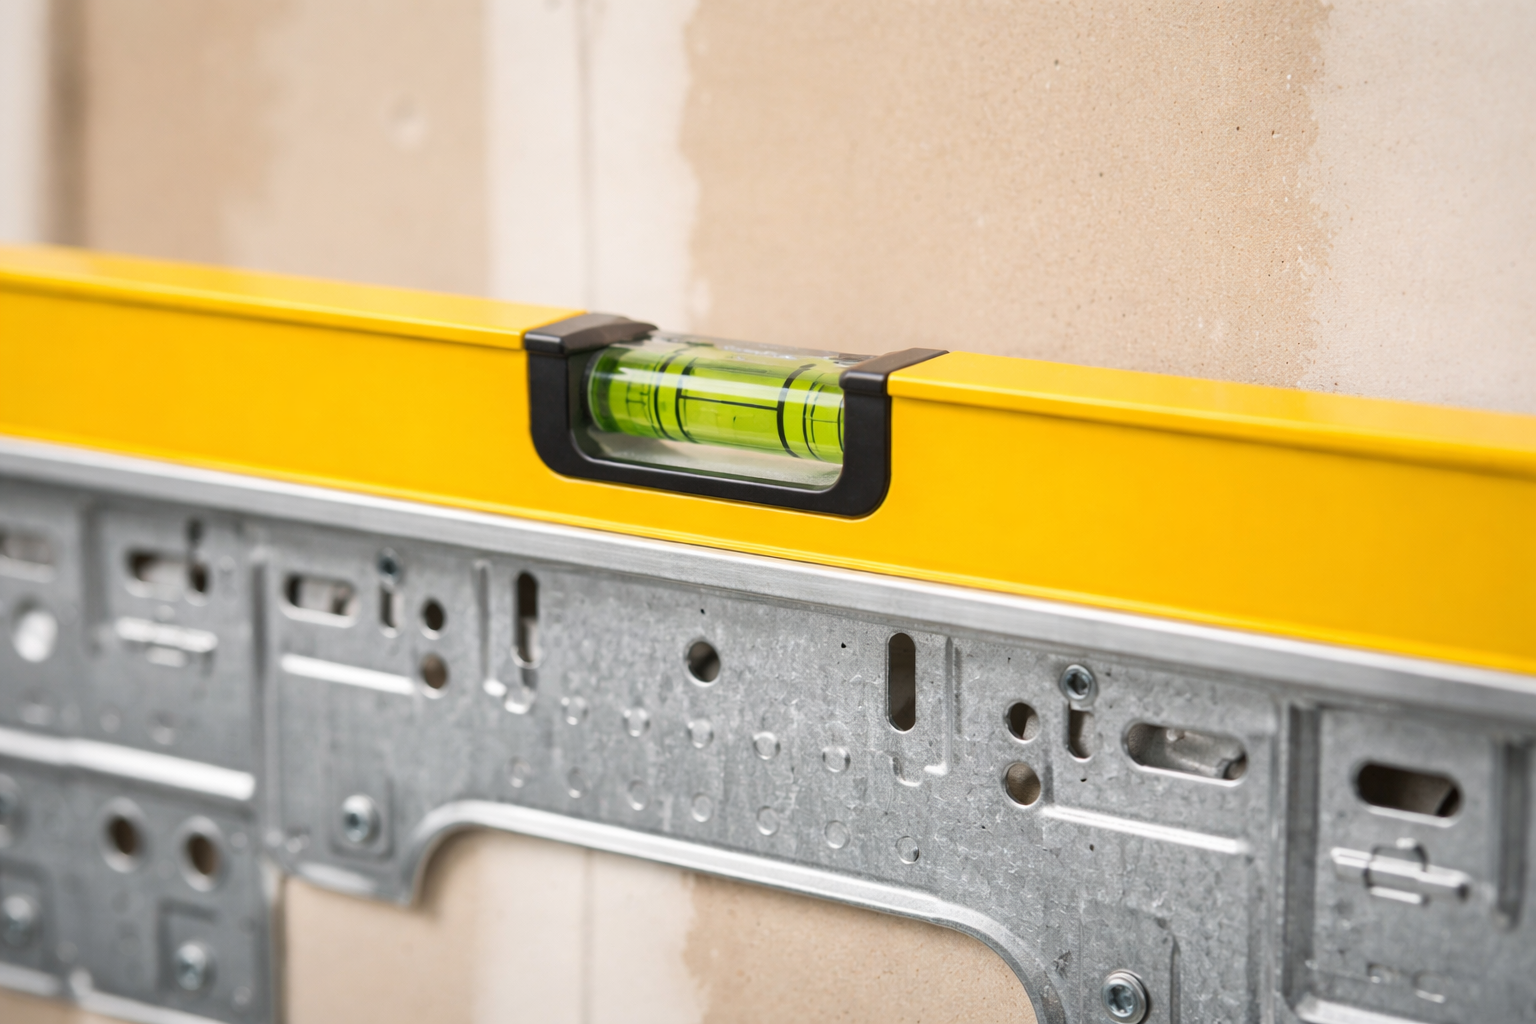
Step 1: Mounting the Indoor Plate (The Leveling Trap)
You screw a metal plate to your bedroom wall.
- The Trap: It must be perfectly level horizontally.
- The Engineering Reality: Unlike a picture frame, if your AC tilts slightly to the left or right, the water in the drain pan won’t flow to the hole. It will pool up and eventually drip down your freshly painted wall. Use a spirit level and triple-check it.
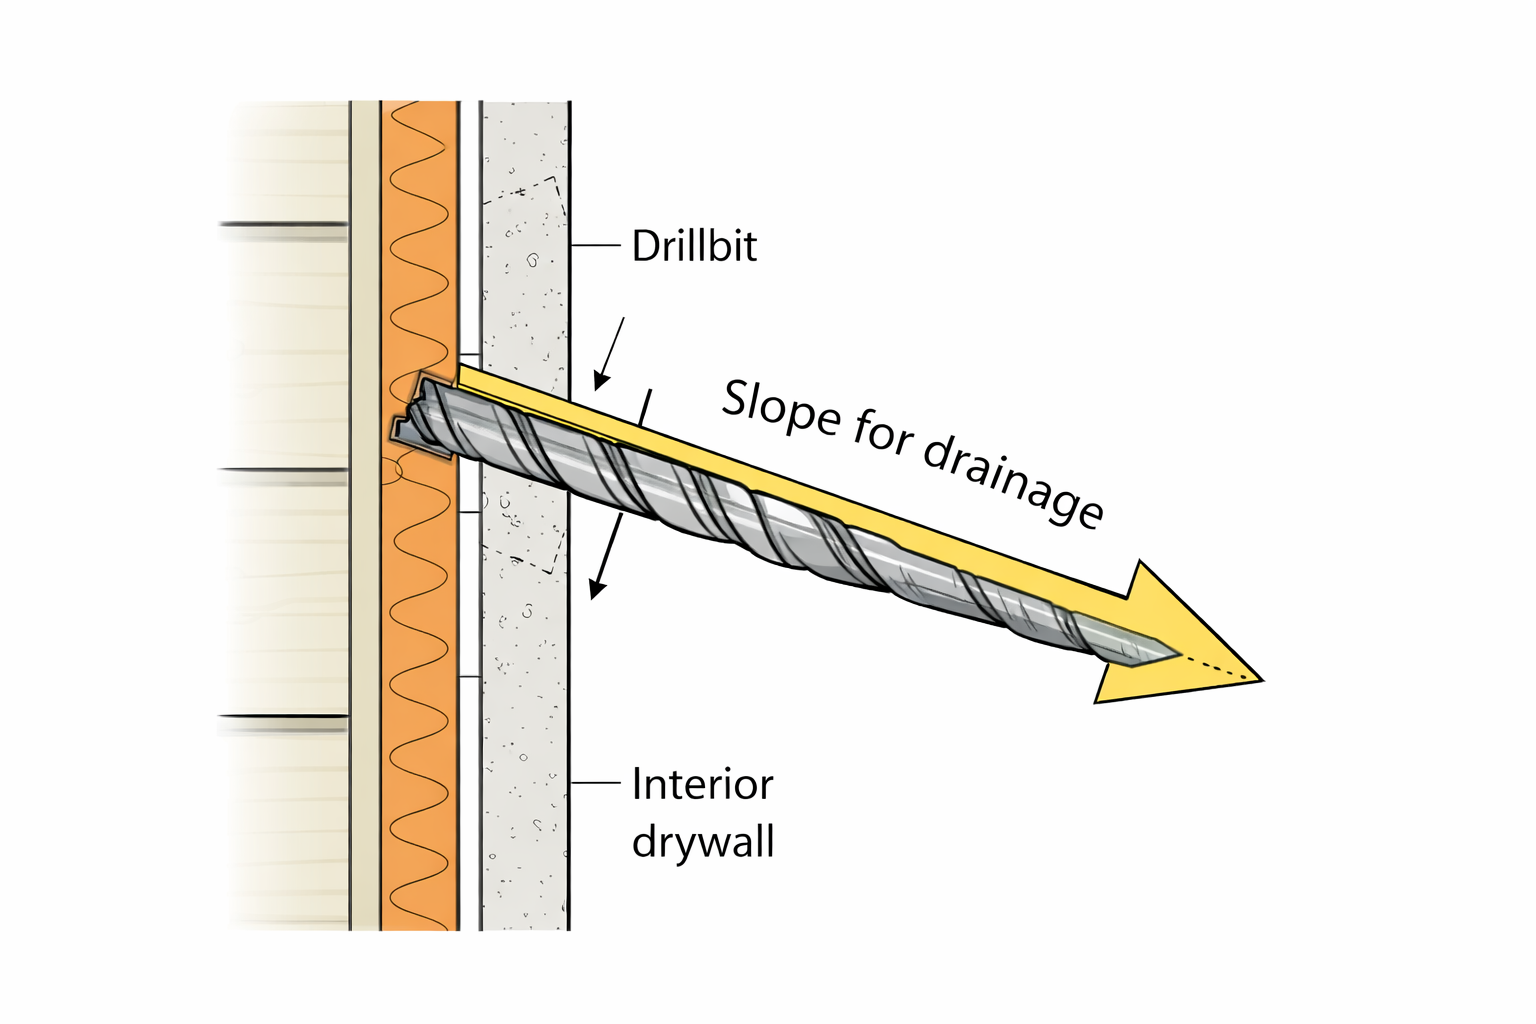
Step 2: The 3-Inch Hole (The Slope Factor)
You need to drill a hole to pass the pipes outside.
- The Trap: Drilling straight through.
- The Engineering Reality: Gravity is your only pump for drainage. You must drill the hole with a slight downward slope toward the outside (about 1/4 inch drop). If you drill straight or upward, condensate water will flow back into your house.
Step 3: Bending the Copper (The Kink)
You have to bend the copper pipes to fit them through the wall.
- The Trap: Bending them too fast with your hands.
- The Engineering Reality: Copper is soft. If you bend it too sharply, it will “kink” (collapse like a plastic straw). A kink blocks the refrigerant flow and kills the compressor. Recommendation: Bending requires patience. Create a wide, gentle arc. Never force it.
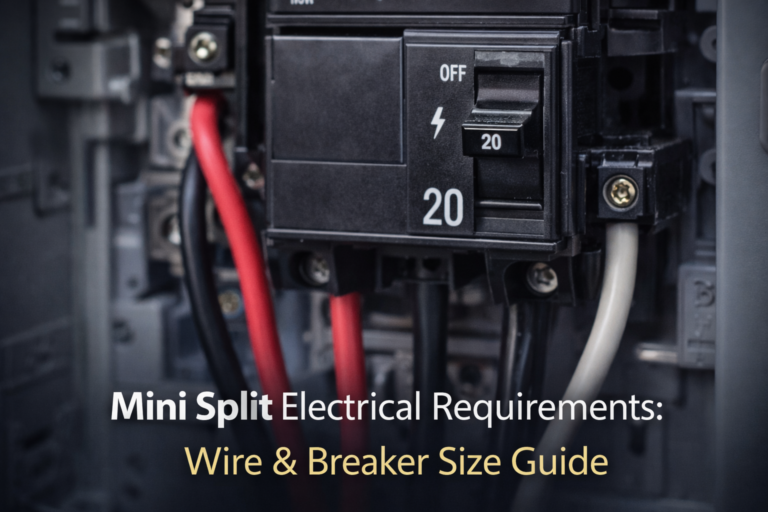
Step 4: The Electrical Connection (The Danger Zone)
- 110v vs 220v: Most 12k+ units require 220v. You cannot plug these into a wall outlet. You need a dedicated breaker in your electrical panel and a “Disconnect Box” mounted outside near the unit.
- Honest Advice: If you have never touched a breaker panel, hire an electrician for this part. You can do 90% of the mechanical work yourself and pay a sparky $200 to do the final wire hookup. It is worth it for safety.
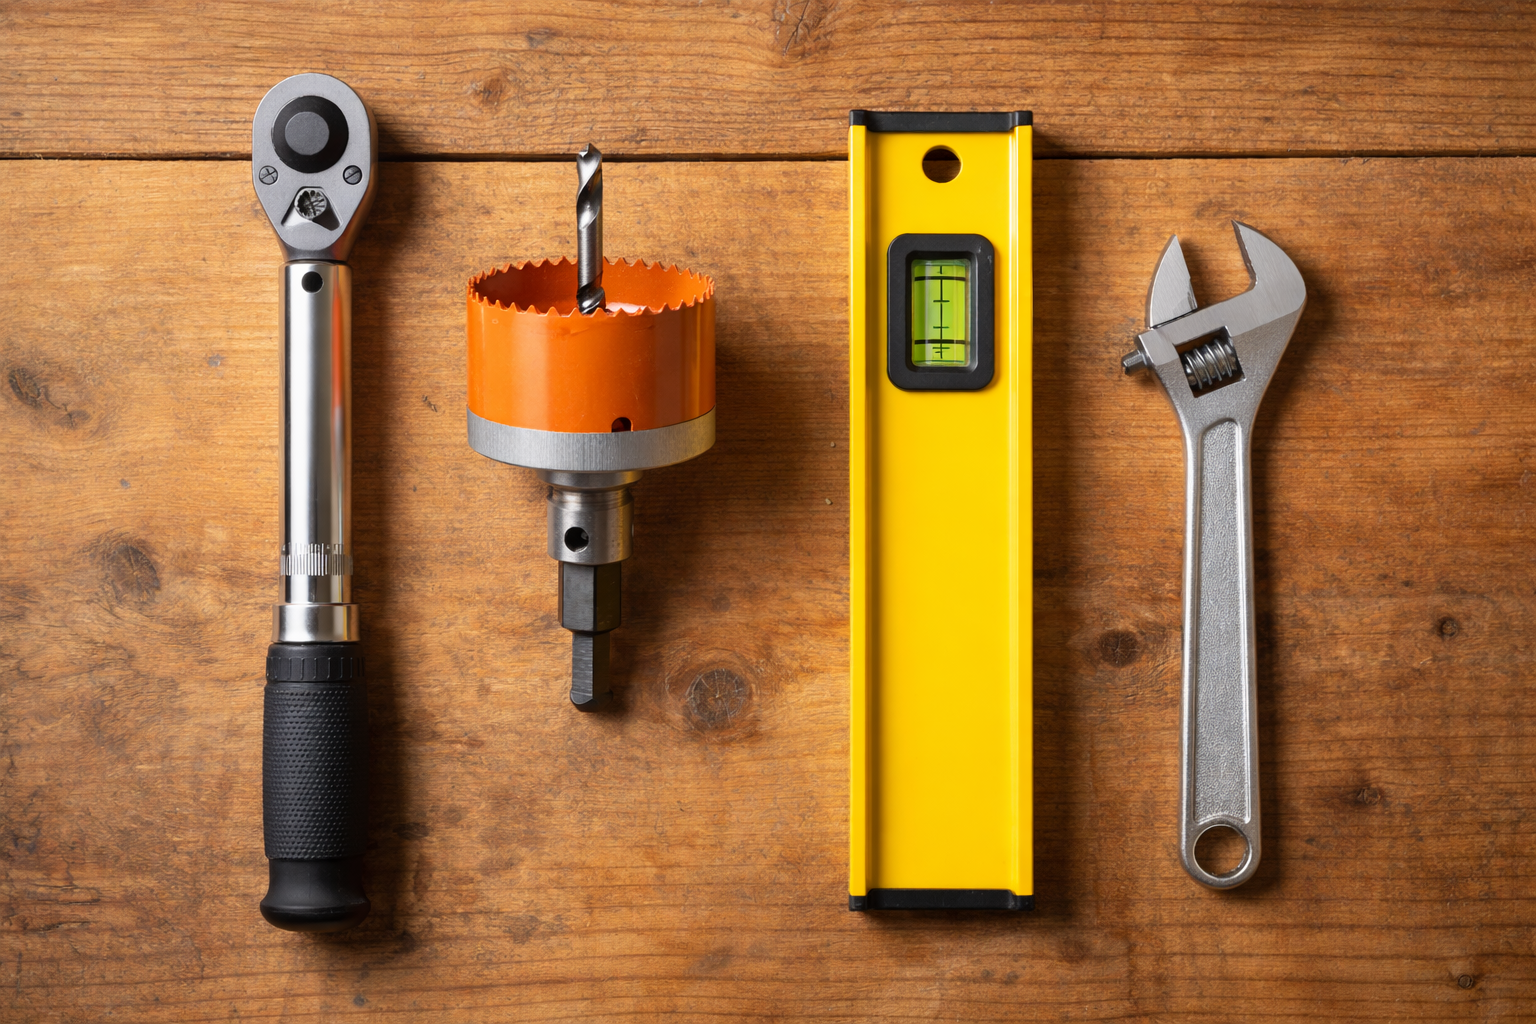
Tools You Actually Need
Don’t start the project until you have these. “Improvising” leads to leaks.
- 3.5-inch Hole Saw: For the wall penetration.
- Torque Wrench: To tighten the refrigerant lines to the exact manufacturer spec (e.g., 25 ft-lbs). Overtightening cracks the flare; undertightening leaks gas.
- Bubble Level: For the mounting plate.
- Stud Finder: To ensure the plate is anchored to wood, not just drywall.
- Adjustable Wrenches (x2): You need two wrenches to tighten connections (one to hold, one to turn) to prevent twisting the copper.
The Verdict: Is It Worth It?
Yes. If you install a MrCool DIY unit yourself, you will spend about 4-6 hours on a Saturday and save roughly $1,500. That is a wage of $250/hour. It is one of the highest ROI (Return on Investment) projects a homeowner can do.
However, if you are not careful with the drain slope or the copper bending, you could cause thousands in damage.
Installing in a garage is often the best first project to practice on. See our Garage Sizing Guide.
My final advice: Read the manual twice before you open the box. Respect the process, take your time, and you will have ice-cold air for a fraction of the price.
Before you buy: Make sure you are buying the right size machine. Installing a DIY unit that is too small is a lot of work for no reward. Check your exact needs now with our Mini Split Calculator.