Mitsubishi Mini Split Dimensions & Clearance Requirements
(Full Installer Guide)
As an HVAC engineer, one of the most common installation mistakes I see isn’t electrical — it’s clearance.
Improper spacing around a Mitsubishi mini split can drastically reduce efficiency, cause the compressor to overheat, and ultimately void your warranty coverage.
Whether you are a homeowner framing out a new addition, or a DIYer planning your layout, you cannot just eyeball the spacing. Mitsubishi units require precise volumetric airflow to function correctly. In this technical reference guide, we provide the exact physical dimensions and the non-negotiable minimum clearance requirements for both indoor and outdoor units.
Why Mini Split Dimensions Matter More Than You Think
Ignoring clearance specs is a costly thermodynamic mistake. Here is why spacing is critical:
- Airflow Restriction: The indoor unit breathes from the top. If mounted too close to the ceiling, it chokes, reducing cooling capacity.
- Heat Rejection: The outdoor unit must expel heat. If placed in a tight corner, it re-breathes its own hot exhaust, skyrocketing head pressure.
- Service Access: HVAC technicians need physical space to attach gauges and remove panels. If they can’t reach the valves, they can’t fix the unit.
- Warranty Compliance: Mitsubishi explicitly states that failing to meet minimum clearances violates installation protocols. (See our Mitsubishi Warranty Guide for details).
Mitsubishi Indoor Unit Dimensions (Wall-Mounted)
Before you decide where to hang the indoor head, ensure you have the physical wall real estate. Here are the approximate specs for popular 2026 series:
| Model Series / BTU | Width | Height | Depth |
|---|---|---|---|
| MSZ-GL / FS (9k – 15k) | 31-5/16 in. (798 mm) | 11-5/8 in. (295 mm) | 9-1/8 in. (232 mm) |
| MSZ-GL (18k – 24k) | 36-5/16 in. (923 mm) | 12-13/16 in. (325 mm) | 9-13/16 in. (250 mm) |
| MSZ-FH Hyper-Heat (9k-15k) | 36-7/16 in. (925 mm) | 12 in. (305 mm) | 9-3/16 in. (234 mm) |
Mitsubishi Outdoor Unit Dimensions & Weight
Contractors need to know footprint and weight to pour concrete pads or order wall brackets.
| Model Category | Width | Height | Depth | Weight |
|---|---|---|---|---|
| Single Zone (9k – 12k) | 31-1/2 in. | 21-5/8 in. | 11-1/4 in. | ~ 80 lbs |
| Single Zone H2i (18k) | 33-1/16 in. | 34-5/8 in. | 13 in. | ~ 125 lbs |
| Multi-Zone (3-4 Heads) | 37-13/32 in. | 41-5/16 in. | 13 in. | ~ 205+ lbs |
Minimum Clearance Requirements
This is the most critical section of the guide. Memorize these minimums.
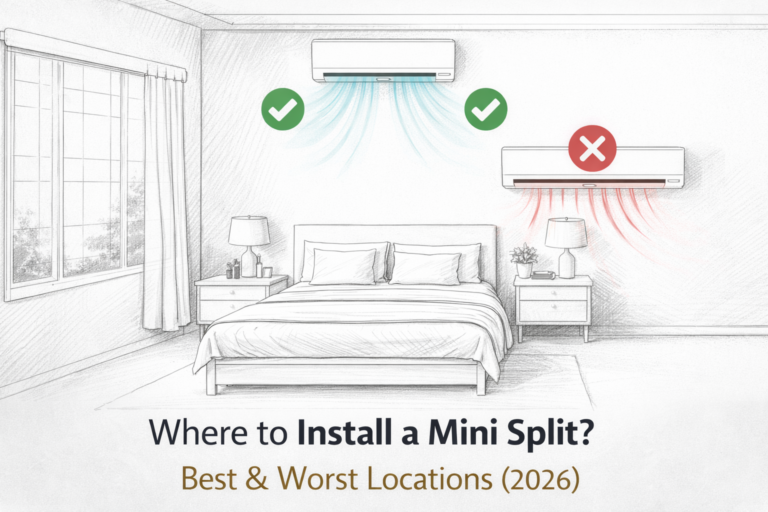
Indoor Unit Clearance
- Top Clearance: Minimum 2 to 4 inches from the ceiling. (The unit breathes from the top).
- Side Clearance: Minimum 2 to 4 inches on both left and right sides.
- Bottom Clearance: At least 72 inches (6 feet) from the floor for optimal room circulation.
- Front Clearance: Do not place tall furniture within 3 feet of the front airflow path.
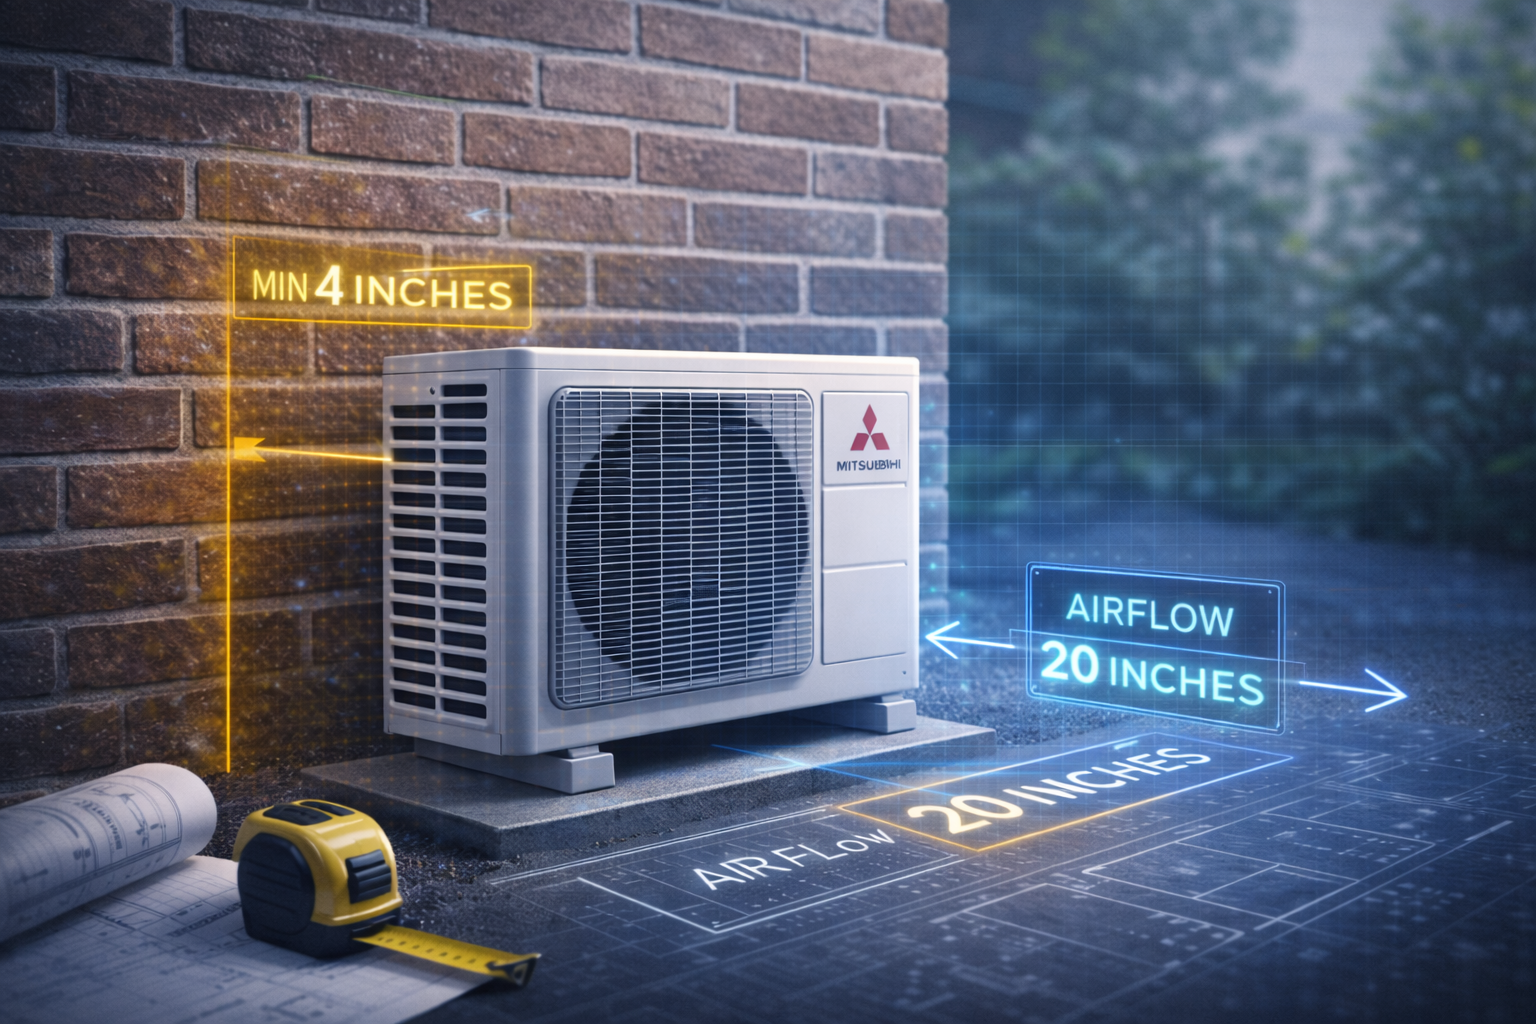
Outdoor Unit Clearance
- Back Clearance (Wall side): Minimum 4 inches (100mm). (8+ inches is preferred for cleaning).
- Front Airflow: Minimum 20 inches (500mm) of completely unobstructed space for heat discharge.
- Right Side (Service side): Minimum 14 inches (350mm) to access valves and wiring.
- Above Unit: Minimum 20 inches if placed under an overhang or deck.
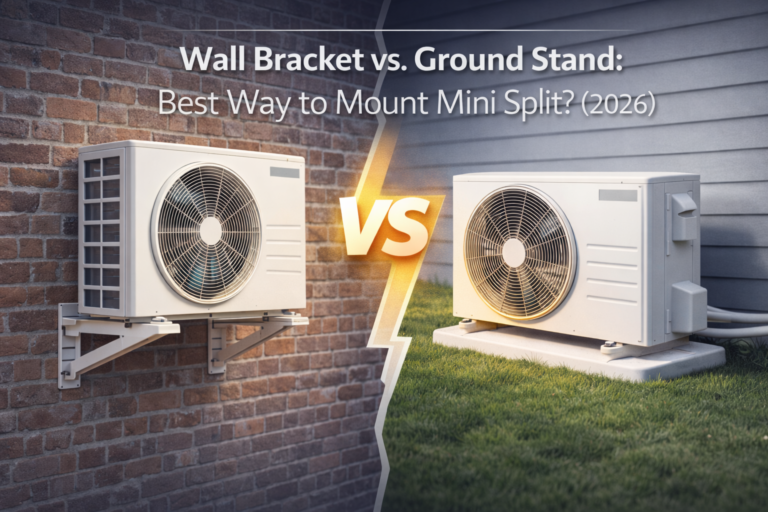
Wall Bracket vs Ground Stand Clearance
How you mount the outdoor unit affects spacing. Ground stands offer superior ease of maintenance, but wall brackets are necessary in flood zones or snowy areas. Ensure wall brackets are rated for the weight (especially multi-zone units exceeding 200 lbs) and utilize vibration dampeners.
Read our complete debate on mounting styles: Wall Bracket vs Ground Stand: Best Way to Mount.
Ceiling Cassette Dimensions & Space Requirements
If you are hiding your Mitsubishi unit in the ceiling (like the MLZ EZ FIT series), wall dimensions don’t matter, but joist space does.
- Required Cavity Depth: You need roughly 7.5 to 10 inches of clearance between the drywall and the floor above it.
- Drain Slope Requirements: You must account for gravity or install a condensate pump to handle the water line within that tight joist space.
Considering this sleek upgrade? Check out: Ceiling Cassette Mini Split: The Invisible Upgrade.
Installer Insight: The “Suffocating” Condenser
The Case: A homeowner built a beautiful wooden privacy fence directly in front of their outdoor Mitsubishi condenser, leaving only 4 inches of front clearance to “hide” the ugly machine.
The Result: In the middle of July, the unit suffered severe Overheating and high head pressure. The compressor protection protocol tripped, shutting the system down entirely. (This often triggers specific Mitsubishi Error Codes).
The Fix:
We relocated the fence to provide the required 20 inches of frontal discharge clearance. The system instantly returned to stable operation. The laws of thermodynamics do not care about backyard aesthetics.
How Improper Clearance Affects Efficiency
Placing an outdoor unit too close to a brick wall creates a vacuum effect. The unit sucks in the hot air it just discharged. This causes:
- Higher Head Pressure: The compressor works 30% harder to compress the refrigerant.
- Increased Energy Consumption: Your SEER rating plummets, and your electric bill spikes. (Read our Electricity Usage Breakdown).
- Short Cycling: The unit overheats, shuts down, cools off, and restarts repeatedly.
Clearance Requirements in Cold Climates
If you live in a snowy region, standard ground clearance rules are voided. You must account for snow accumulation.
The bottom of the outdoor unit must be mounted at least 12 inches above the historical average snowfall line for your area. If snow covers the base of the unit, it blocks the drainage holes during the defrost cycle, causing the machine to encase itself in solid ice.
Read more in our guide: Sizing & Placement for Cold Climates.
Service Access Space (Often Ignored)
When choosing a location, remember that a technician will eventually need to open it up.
- Electrical Panel Access: The right side of the outdoor unit houses the PC boards and wiring blocks. You need at least 14 inches to fit a screwdriver and hands in there.
- Refrigerant Connections: A tech needs room to swing two large wrenches to attach the copper lines and pull a vacuum.
- Drain Maintenance: The indoor unit needs side clearance so you can pop the cover off and flush the condensate drain line to prevent mold.
Frequently Asked Questions
What are the dimensions of a Mitsubishi mini split indoor unit?
A standard 9k to 12k BTU Mitsubishi MSZ indoor wall unit is approximately 31.3 inches wide, 11.6 inches high, and 9.1 inches deep. Larger units and Hyper-Heat models are slightly wider (up to 36 inches).
How much clearance does a Mitsubishi outdoor unit need?
The outdoor condenser requires a minimum of 4 inches of clearance from the back wall, 20 inches of unobstructed airflow space in the front, and 14 inches on the right side for service and electrical access.
Can I install a Mitsubishi mini split in a tight space?
It is highly discouraged. Installing indoor units closer than 2 inches to the ceiling, or outdoor units enclosed by privacy fences, restricts airflow. This leads to overheating, poor efficiency, and frequent compressor lockouts.
How high should the outdoor unit be from the ground?
In mild climates, setting it on a standard 3-inch equipment pad is fine. In cold climates, the unit must be mounted on a stand or wall bracket at least 12 inches above the historical average snowfall line to allow for proper defrost drainage.
Does improper clearance affect the warranty?
Yes. Mitsubishi’s official installation manuals dictate minimum clearances. If a compressor fails due to overheating caused by restricted airflow (like being boxed in by a deck), the manufacturer can deny the warranty claim.